0 Comments
 Starting the year out online and not sure where to get started? Give this checklist a try to get your year moving smoothly. Please be sure to leave a review!
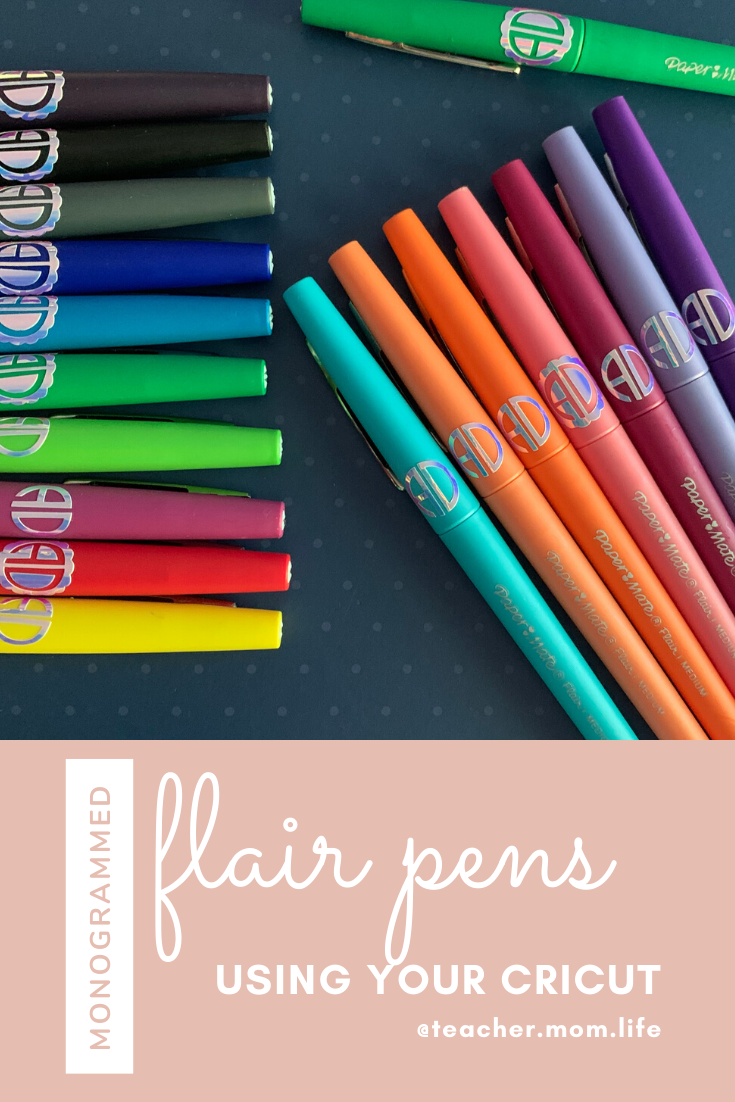
I have personally owned a Cricut Mini, Cricut EasyPress 1 and a Cricut EasyPress 2. I have had no issues with Cricut brand and it has my highest recommendation. If you believe you will only make an occasional shirt for personal use, an iron can get you by, but it will not last as long as other options.
Some prefer a heat press because it applies pressure for you. I am content with my Mini Press for small projects and unflat surfaces and my 9 x 9 press. It works well for onsies and just takes two presses for bigger projects. If you're just getting started with making shirts and etc note that adhering vinyl to fabric requires HTV (Heat Transfer Vinyl). I recommend considering budget, storage space, and use when deciding size and type of heat press. 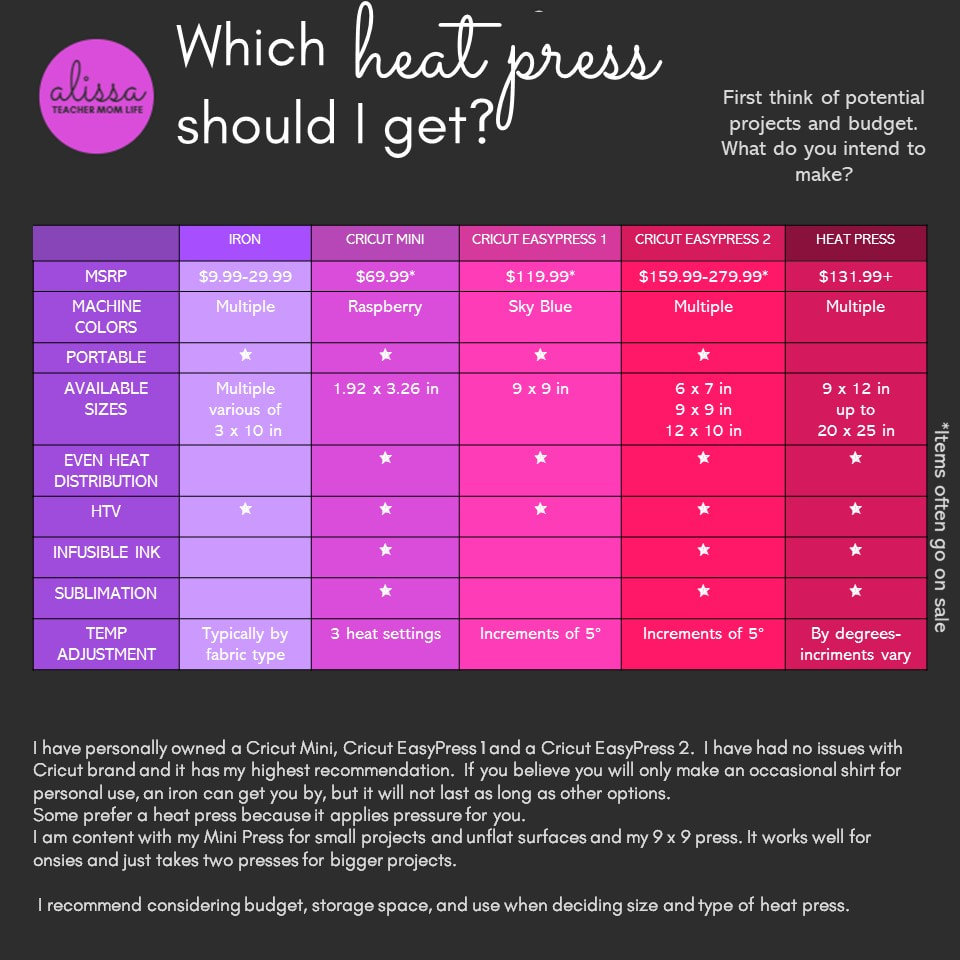
If you're ready to make the leap go for it! :)
Commissioned links, I get a small amount if you choose to shop with me and it costs you the same!
HTV
Apply Vinyl to fabric requires HTV. HTV is not sticky on the back because you use your press to melt it to the fabric. You also do not typically need transfer tape to use HTV. You cut your image backwards and then remove the negative spaces. The HTV is stuck to a carrier plastic that keeps it in place until you press it on your fabric. The first HTV I bought was a multi-color pack. I am so glad I did, because it gave me many colors for details and layering. Then I ordered other colors in bulk as needed.
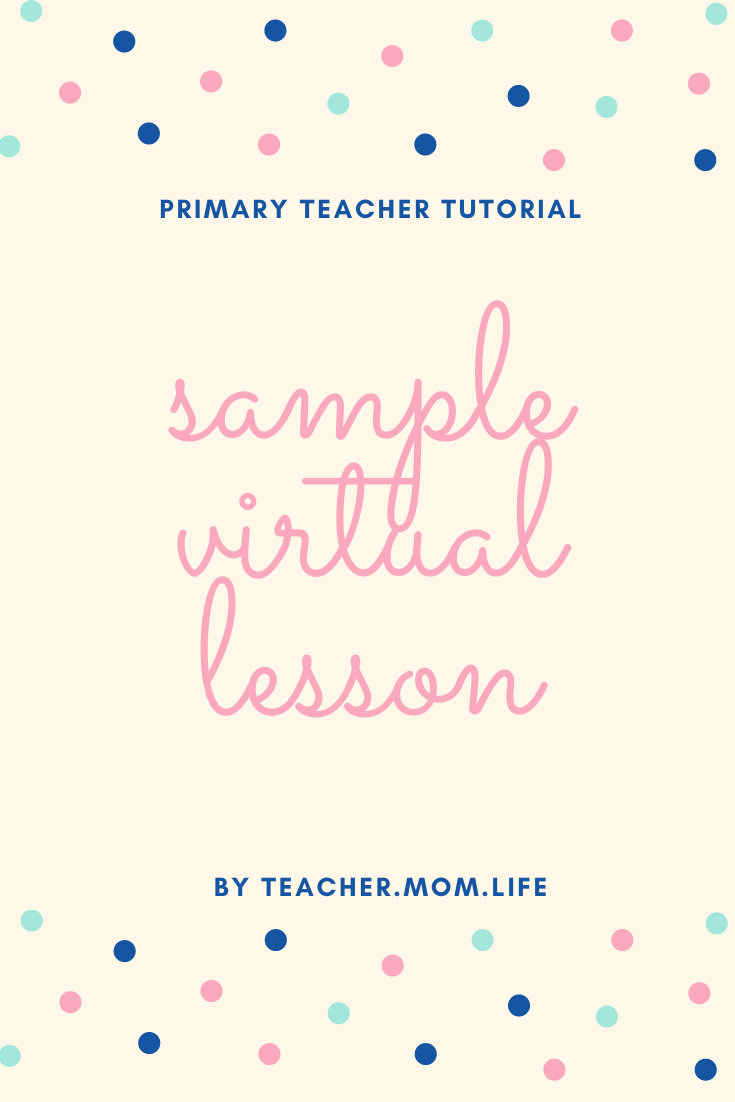
 Trust me, it is more doable than you think. Here are my general tips for starting the school year out teaching virtually. 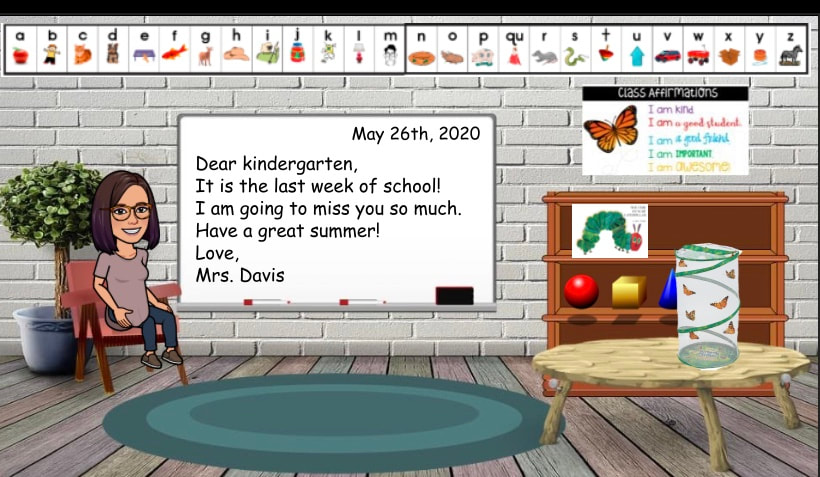 I followed the awesome tutorial below from Emily Houch to create my own virtual Bitmoji Classroom. Be sure to give her some love for the awesome tutorial. It's more than just a pretty picture, its interactive. To check out my interactive classroom, click here!
Prepping for eLearning? I have been teaching elementary in the online setting for 12 years! Here are some simple tips: •encourage families to keep a routine and schedule at home. Tiny humans thrive with schedules and it sets them up for learning (and more sanity for everyone)! •create flipped videos to help students learn at home. Think of your math warm up, phonics practices, and etc. Try to keep them short (I like the formula of the students’ age plus two for your minutes goal). Also, you can check out my IGTV for a short tutorial on how to record any PowerPoint and save it to YouTube! •create a (free) FlipGrid Account. You can ask the students a question and they can record their answers. They can also see each other’s answers. •use Zoom (also free) to meet for a live class. Teach a mini lesson or read a story to your class! •take advantage of the amazing educational software programs offering free membership such as ABCmouse, BrainPop and BrainPop Jr, Epic Books, and more. Find a link to the full list here (this is not my link, just sharing it!) Update: Now that I have learned that Indiana has expanded eLearning, I have created a quick tutorial about how I would manage eLearning for Tiny Humans YouTube keeps pulling the video because of it's length. I have it posted on IGTV if this video does not load. Find a sample Google Slides Syllabus here. Feel free to make your own copy if it's helpful.
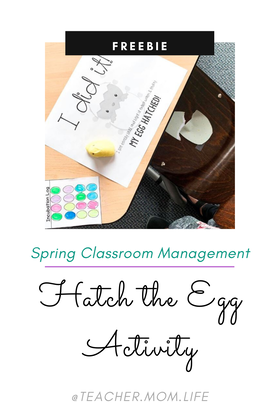 This time of year two things are happening, little humans can’t sit still in their seats and we are learning about life cycles because they pair naturally with spring!
Last spring I saw this great idea in many of my teacher groups, so I can’t reference the source, but I can share how it worked for me. At the beginning of the month I put paper eggs in each student’s chair. They were instructed to sit on them and keep them warm. Then as we were going through our day I would periodically get out my highlighter (no announcements, no threats, nothing) and quietly color one egg for each student caught keeping their egg warm. At the end of the month (or a few weeks—you know your bunch) every student that had a full sheet came to school to find their egg cracked and a Peep Marshmallow hatched in its place. It was so fun to watch them get excited when they reached their goal and remind their tablemates to keep trying so everyone to could get there! Please tag me on Instagram if you use this—I can’t wait to see! |
What you're in for...Here you will find my ramblings of motherhood, teaching, & life while like many I try to balance it all. As an Amazon Associate I earn a small amount from qualifying purchases, but it does not cost you any more! :)
Archives
May 2021
Categories |
 RSS Feed
