teacher mom life blog
  • Home
  • Blog
  • Community
  • TPT Store
  • Amazon Favs
  • About
    • Contact

Making Bath Bombs with Kids

12/17/2019

1 Comment

 
 This year I wanted to make something with my toddler to gift everyone for Christmas.   I didn't want to make cookies or bake, so somehow I landed on making homemade bath bombs.  When I was pregnant my aunt sent me some with a quilt for my son.  It was such a treat.   Thus started my mission.  I did a lot of research and this is what I landed on.
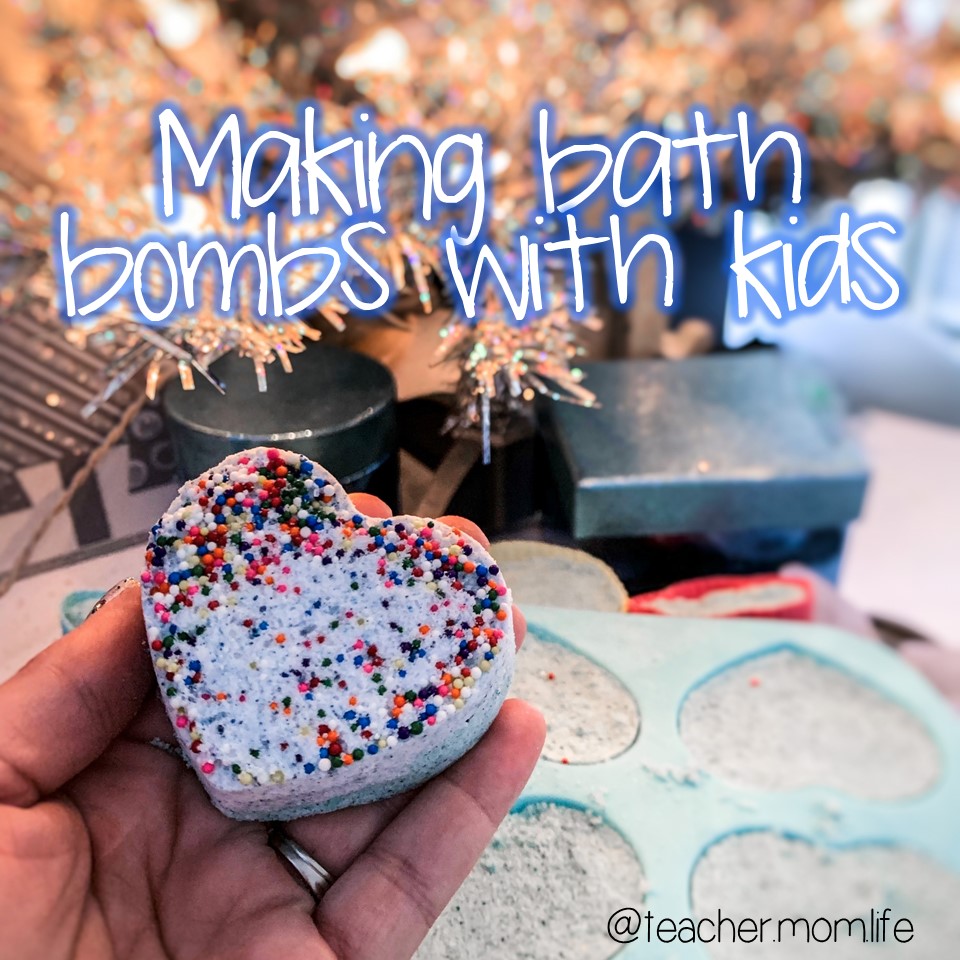
Picture

Make your Own

Here are the ingredients that I used.  I linked what I could on Amazon (as an Amazon associate I get a small amount for qualifying purchases, but it costs you the same! ! Win-win!) I doubled this recipe and got about 30 bath bombs! 

Ingredients
  • 2 Cups Baking Soda
    • I wish I would have found this colored baking soda and saved a step!
  • 1 Cup Citric Acid (this makes it fizz!)
  • 1 Cup Cornstarch
  • 1 Cup Epsom Salt
  • 3 Teaspoons Coconut Oil (melted)
  • 3-6 Drops Essential Oil (I used lemon and lavender)
  • Silicone Molds or Tissue Paper and a Cupcake Pan
  • Food coloring (gel preferred-liquid causes the citrus acid to react)
  • Baby Oil
  • Optional: Sprinkles, dried flowers, or some other type of embellishment.
Directions
  1. Pour all of the dry ingredients into a large bowl.  I did not have an issues with this staining my regular mixing bowls. Then stir in the coconut oil.  
  2. Split the mixture into two bowls if you want to make my bath bombs two-toned.  This is optional.  One bowl got one color stirred in, the other bowl got a different color.  You also have the option of using more color in one bowl than the other. My colors wound up painfully close so this step didn't turn out for me.
  3. Once you have the desired color check your consistency.  The mixture should feel like kinetic sand.  Some recipes I found called for water or even Witch Hazel, but I found that they both cause my mixture to fizz! I found that Baby Oil (that I had in my bathroom) worked best! I added just a little bit at a time until it seemed ready to pack.
  4. Put the sprinkles or embellishments at the bottom. If you're using a silicone mold put them right there in a thin layer on the bottom! If you're using a cupcake pan then first put squares of tissue paper in the mold (like you would cupcake lines (which would also work, but I was being frugal!). I put sprinkles on the top of these and it turned out okay...not great.
  5. Start adding the mixture to the molds.  If you're doing two-tones fill up your mold half way then switch colors. Pat the mixture as you go. At the end I really pushed down with bottom of a spice jar.
  6. ​After that let your bath bombs air dry for 1-2 days. Bag the up and hand them out!

Voila! My son loved this and can't wait to hand them out at Christmas.  We even tried one out...just to be safe! ;)
1 Comment
zahra chasmai link
1/28/2023 11:22:47 pm

an easy DIY to follow. Can we use regular salt instead of epson salt for making bath bombs

Reply


Leave a Reply.

    What you're in for...

    Here you will find my ramblings of motherhood, teaching, & life while like many I try to balance it all.

    As an Amazon Associate I earn a small amount from qualifying purchases, but it does not cost you any more! :) 

    Archives

    February 2022
    September 2021
    July 2021
    May 2021
    December 2020
    November 2020
    September 2020
    August 2020
    July 2020
    June 2020
    May 2020
    April 2020
    March 2020
    February 2020
    January 2020
    December 2019
    November 2019
    October 2019
    September 2019
    August 2019
    July 2019
    June 2019
    April 2019

    Categories

    All
    Cricut
    Indiana
    Life
    Motherhood
    Podcast Episodes
    Reviews
    Teaching

    RSS Feed

Powered by Create your own unique website with customizable templates.
  • Home
  • Blog
  • Community
  • TPT Store
  • Amazon Favs
  • About
    • Contact